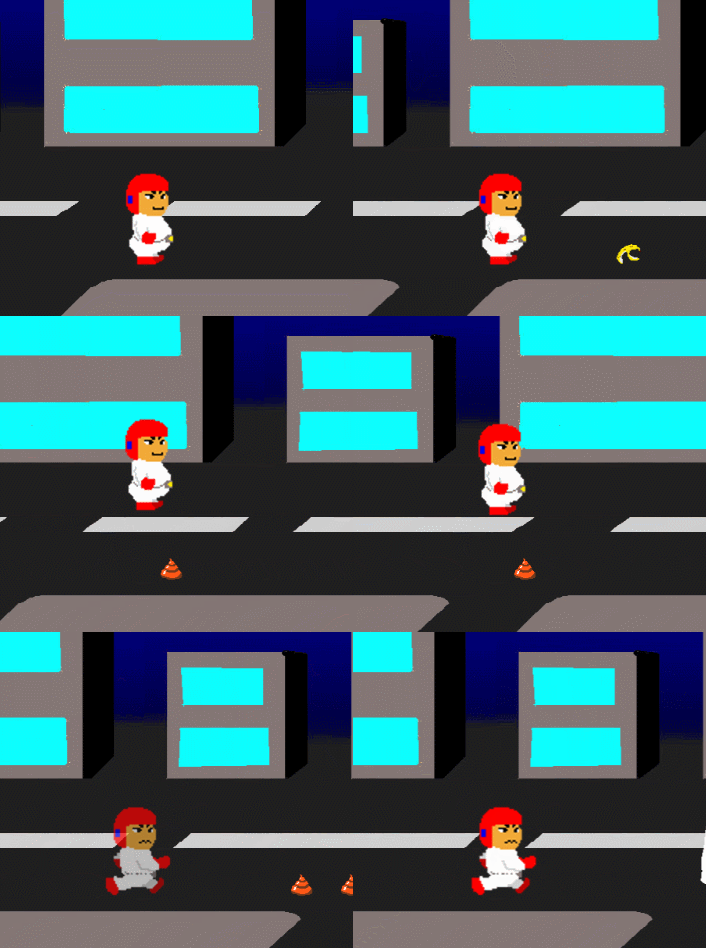
ゲームではプレイヤーが操作するとキャラクターが動きます。
動くときには当たり前のようにアニメーションします。
ということで今回はキャラクターアニメーションのプログラムを用意しました。
開発環境はPixiJSで作った簡易自作ゲームエンジン(p94e.js)です。
サンプルプログラム
サンプルプログラムはcodepenに上げて言います。
See the Pen
キャラクターアニメーション by いんわん (@inwan78)
on CodePen.
操作はADで左右移動、Nでジャンプします(動かない場合はキャラクターが表示されている画面を一度クリックしてください)。
右上にある「EDIT ON CODEPEN」をクリックするとcodepenのサイトに移動してサイト上で編集できるのでご自由にお使いください(保存する場合はアカウントを作る必要があります)。
コピペして使う場合は参照しているファイルも必要になります(右上のsettingを押すと見れます。わからない場合はこっちの記事をみてください)。
スプライトシートについて
ゲームではキャラクターがいくつも並んだスプライトシートという画像を使います。

PixiJSではスプライトシートを使う場合はJsonファイルと一緒に使うんですがその方法があまり初心者向けではないのでp94e.jsではenchant.js風に使えるようにしています。
使い方についてはこちらの記事を見るとわかりやすいです(ほとんど同じになってます)。
p94e.jsのスプライトについてはこちらの記事に詳しく書いています。
ではサンプルの解説をしていきます。
Actorクラス
class Actor extends EnchantSprite {
  constructor(w, h){
    super(w, h);
    this.anchor.set(0.5, 1);//Y座標の中心は足元に
    this.vx = 0;
    this.vy = 0;
    this.fpX = 0;//小数点以下保存用
    this.fpY = 0;

    //アニメーション用
    this.animation = {
      isPlayAuto: false,
      frameNumbers: [],
      intervals: [],
      type: null,
      index: 0,
      count: 0,
      data: {}
    }
  }
  //アニメーション切り替えプログラム
  changeAnimationPattern(type){
    const anim = this.animation;
    anim.frameNumbers = anim.data[type].frameNumbers;
    anim.intervals = anim.data[type].intervals;
    anim.type = type;
    anim.index = 0;
    anim.count = 0;
    this.frameNumber = anim.frameNumbers[0];
  }
  //キャラの座標から小数点を抜く
  posRemoveFractionalPart(){
    const x = this.x | 0;//小数点以下を切り捨て
    this.fpX = this.x - x;
    this.x = x;
    const y = this.y | 0;
    this.fpY = this.y - y;
    this.y = y;
  }
  //キャラの座標に小数点以下を戻す
  posRestoreFractionalPart(){
    this.x += this.fpX;
    this.y += this.fpY;
  }
  update(delta){
    super.update(delta);
    //自動アニメーション処理
    const anim = this.animation;
    if(anim.isPlayAuto && ++anim.count > anim.intervals[anim.index]){
      if(++anim.index >= anim.intervals.length){
        anim.index = 0;
      }
      this.frameNumber = anim.frameNumbers[anim.index];
      anim.count = 0;
    }
  }
}
Actorクラスはアニメーションするキャラクター用のクラスです。
p94e.jsのEnchantSpriteから継承して作っています。
アニメーションに必要な情報を保存する変数や関数が追加されています。
changeAnimationPattern()でアニメーションを切り替えます。
ここでアニメーションのデータを入れ換えます。
update()は更新処理です。
ここで自動でアニメーション処理をしてくれるように作っています。
それと、今回のアニメーションには関係ないですが座標の小数点を切り分ける関数があります。
これはキャラクターの座標を動かしたとき小数点が入っていると描画時に奇麗に表示されないことがあるのでそれを避けるために使います(解像度を低くすると分かりやすいです)。
基本的にメインループの頭で小数点以下の数字を戻して移動や当たり判定などの処理をして、メインループの最後で小数点以下を切り分けると描画が乱れずきれいに表示されます。
Playerクラス
class Player extends Actor {
  constructor(w, h){
    super(w, h);
    this.image = core.resources[Resource.Player].texture;
    this.position.set(Config.Screen.Width*0.5, Config.Screen.Height*0.75);
    this.maxSpeed = 4;
    this.acceleration = 0.24;
    this.friction = 0.08;
    this.isOnGround = true;
    this.gravity = 0.3;

    this.animation.data = {
      stand: {
        frameNumbers: [1],
        intervals: [100],
      },
      walk: {
        frameNumbers: [0, 1, 2, 1],
        intervals: [8, 8, 8, 8],
      },
      jump: {
        frameNumbers: [4],
        intervals: [100],
      },
      fall: {
        frameNumbers: [5],
        intervals: [100],
      }
    }
    this.animation.type = 'stand';
    this.animation.isPlayAuto = true;
  }
  update(delta){
    super.update(delta);
    this.posRestoreFractionalPart();//一番最初に小数点を戻す

    const btn = inputManager.checkButton('A');
    if(btn == inputManager.keyStatus.DOWN){
      if(this.isOnGround){
        this.vy = -8;
        this.changeAnimationPattern('jump');
      }
    }
    if(btn == inputManager.keyStatus.RELEASE){
      if(this.vy < 0){
        this.vy /= 2;
      }
    }
    this.isOnGround = false;
    this.vy += this.gravity;
    this.y += this.vy;
    if(this.y > Config.Screen.Height*0.75){
      this.y = Config.Screen.Height*0.75;
      this.vy = 0;
      this.isOnGround = true;
      if(this.animation.type != 'walk'){
        this.changeAnimationPattern('walk');
      }

    }else if(this.vy > 0 && this.animation.type != 'fall'){
      this.changeAnimationPattern('fall');
    }

    switch(inputManager.checkDirection()){
      case inputManager.keyDirections.RIGHT:
        if(this.isOnGround && this.vx == 0){
          this.changeAnimationPattern('walk');
        }
        this.scale.x = 1;
        this.vx += this.acceleration;
        this.vx = this.vx > this.maxSpeed ? this.maxSpeed : this.vx;
        break;
      case inputManager.keyDirections.LEFT:
        if(this.isOnGround && this.vx == 0){
          this.changeAnimationPattern('walk');
        }
        this.scale.x = -1;
        this.vx -= this.acceleration;
        this.vx = this.vx < -this.maxSpeed ? -this.maxSpeed : this.vx;
        break;
      case inputManager.keyDirections.DOWN:
        break;
      default:
        break;
    }


    //摩擦的なもの(減速させる)
    if(this.vx > this.friction){
      this.vx -= this.friction;
    }else if(this.vx < -this.friction){
      this.vx += this.friction;
    }else{
      this.vx = 0;
      if(this.isOnGround){
        this.changeAnimationPattern('stand');
      }
    }
    this.x += this.vx;
    this.posRemoveFractionalPart();//一番最後に小数点を取り除く
  }
}
PlayerクラスはActorクラスから継承して作っています。
animation.dataには画像のフレーム番号(frameNumbers)と切り替えまでの時間(intervals)が配列で入っています。
それを操作に合わせてchangeAnimationPattern()を使って切り替えます。
walkでは8フレームごとに0→ 1→ 2→ 1の順番で画像が切り替わります。
あと今回は2Dサイドビューアクションゲームのような感じに左右移動とジャンプがあるのでそれら用の変数がちょこちょこあります。
maxSpeed、acceleration、friction、gravityの値を変えるとかなり動きが変わるので数値を変えて遊んでみてください。
おしまい
今回のサンプルプログラムを使えば簡単なアクションゲームなどは作れると思います。
ただアニメーションがループ前提なのでループしない場合などいろいろな状況でも使えるともっと良くなると思います。


